Au Weather 2.x Help
Favourites
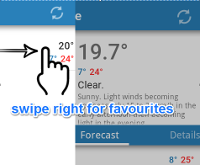
Tap the menu icon (toolbar, top left) or swipe in from the left of the screen to view favourites:
Click the plus (+) sign to add favourites:
- Select form nearby locations
- Select by state
- Use nearest (follow me):
- available if location services are enabled on the device
- will default to the closest BOM weather station (unless the station is excluded – see below)
What if the “nearest” station is a dud? Maybe it’s only updated once or twice a day or it’s no longer being updated by BOM. To prevent station being used as ‘nearest” station:
- long-press the station name on the favourites list
- select “Exclude as nearest” from the pop-up menu
Note: to later include the station in the nearest list again:
- add the station from the “nearby” list or via the state selection list
- long-press the station name in the favourites list
- select “Include as nearest” from the pop-up menu
Station Data
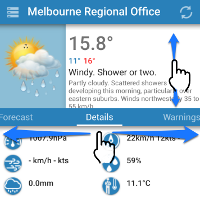
The top section displays the basic observation details (swipe up/down to view all the details).
The bottom section displays tabs with:
- forecast details (up to 6 days where available)
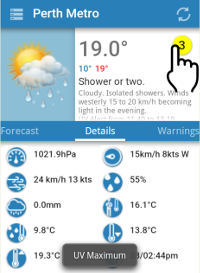
- observation details including sunrise and sunset times (station dependent) :
- tap the icons for a description
- details can be set to text only (via preferences)
- details can be set to be the first tab (via preferences)
- weather warnings for the station state
Radar
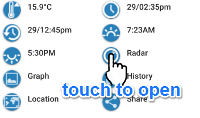
Tap the radar icon (if available) in the observation details section to view the closest radar loop. The radar button is only displayed when a radar is within ~550km (~250km free version) of the currently displayed station. The free version only shows the 256km radar loop for the currently selected station.
The paid version allows for selecting 512km/256km/128km radar loops when the radar loop is displayed (via menu). The default radar range to use can be set via preferences in the paid version.
Important: Note that all radar loops are not always on and may be taken off-line by BOM.
Widgets
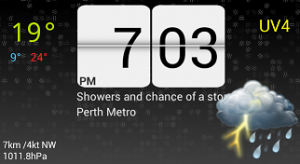
When adding an Au Weather widget to a home screen the Widget Settings screen is displayed. The following options are available:
- Station: select the water station’s data to display on the widget.
- Widget background*: select the background to use on the widget.
- Widget temperature in status bar: select this option to display an ongoing notification in the status bar with the temperature. This can only be set for one widget at a time.
- Show station name: display the station name on the widget.
Notes:
- the default temperature colour is white and my not be visible if the status bar is light/white: this can be changed in the application preferences
- multiple widgets for different stations can be added
- widget text colours can be set via preferences (min/max/ temperature/general text)
*only available for the 2×1 widget
